You have downloaded a beautiful 300-DPI poster. The astronomy is done; now the print has to succeed. This guide covers the three realistic routes — your own printer, a retail photo counter, and an online lab — then walks through the file formats, color settings, dialog boxes, paper choices and shop requirements that separate a crisp keepsake from a soft, cropped disappointment. Before any of it, run your file through the free print readiness checker, and if your image came from somewhere other than our poster tools, use the poster image resizer to bring it up to size. For the theory behind the pixel numbers, the companion article on print sizes and DPI explained has the full tables.
Three ways to print a poster
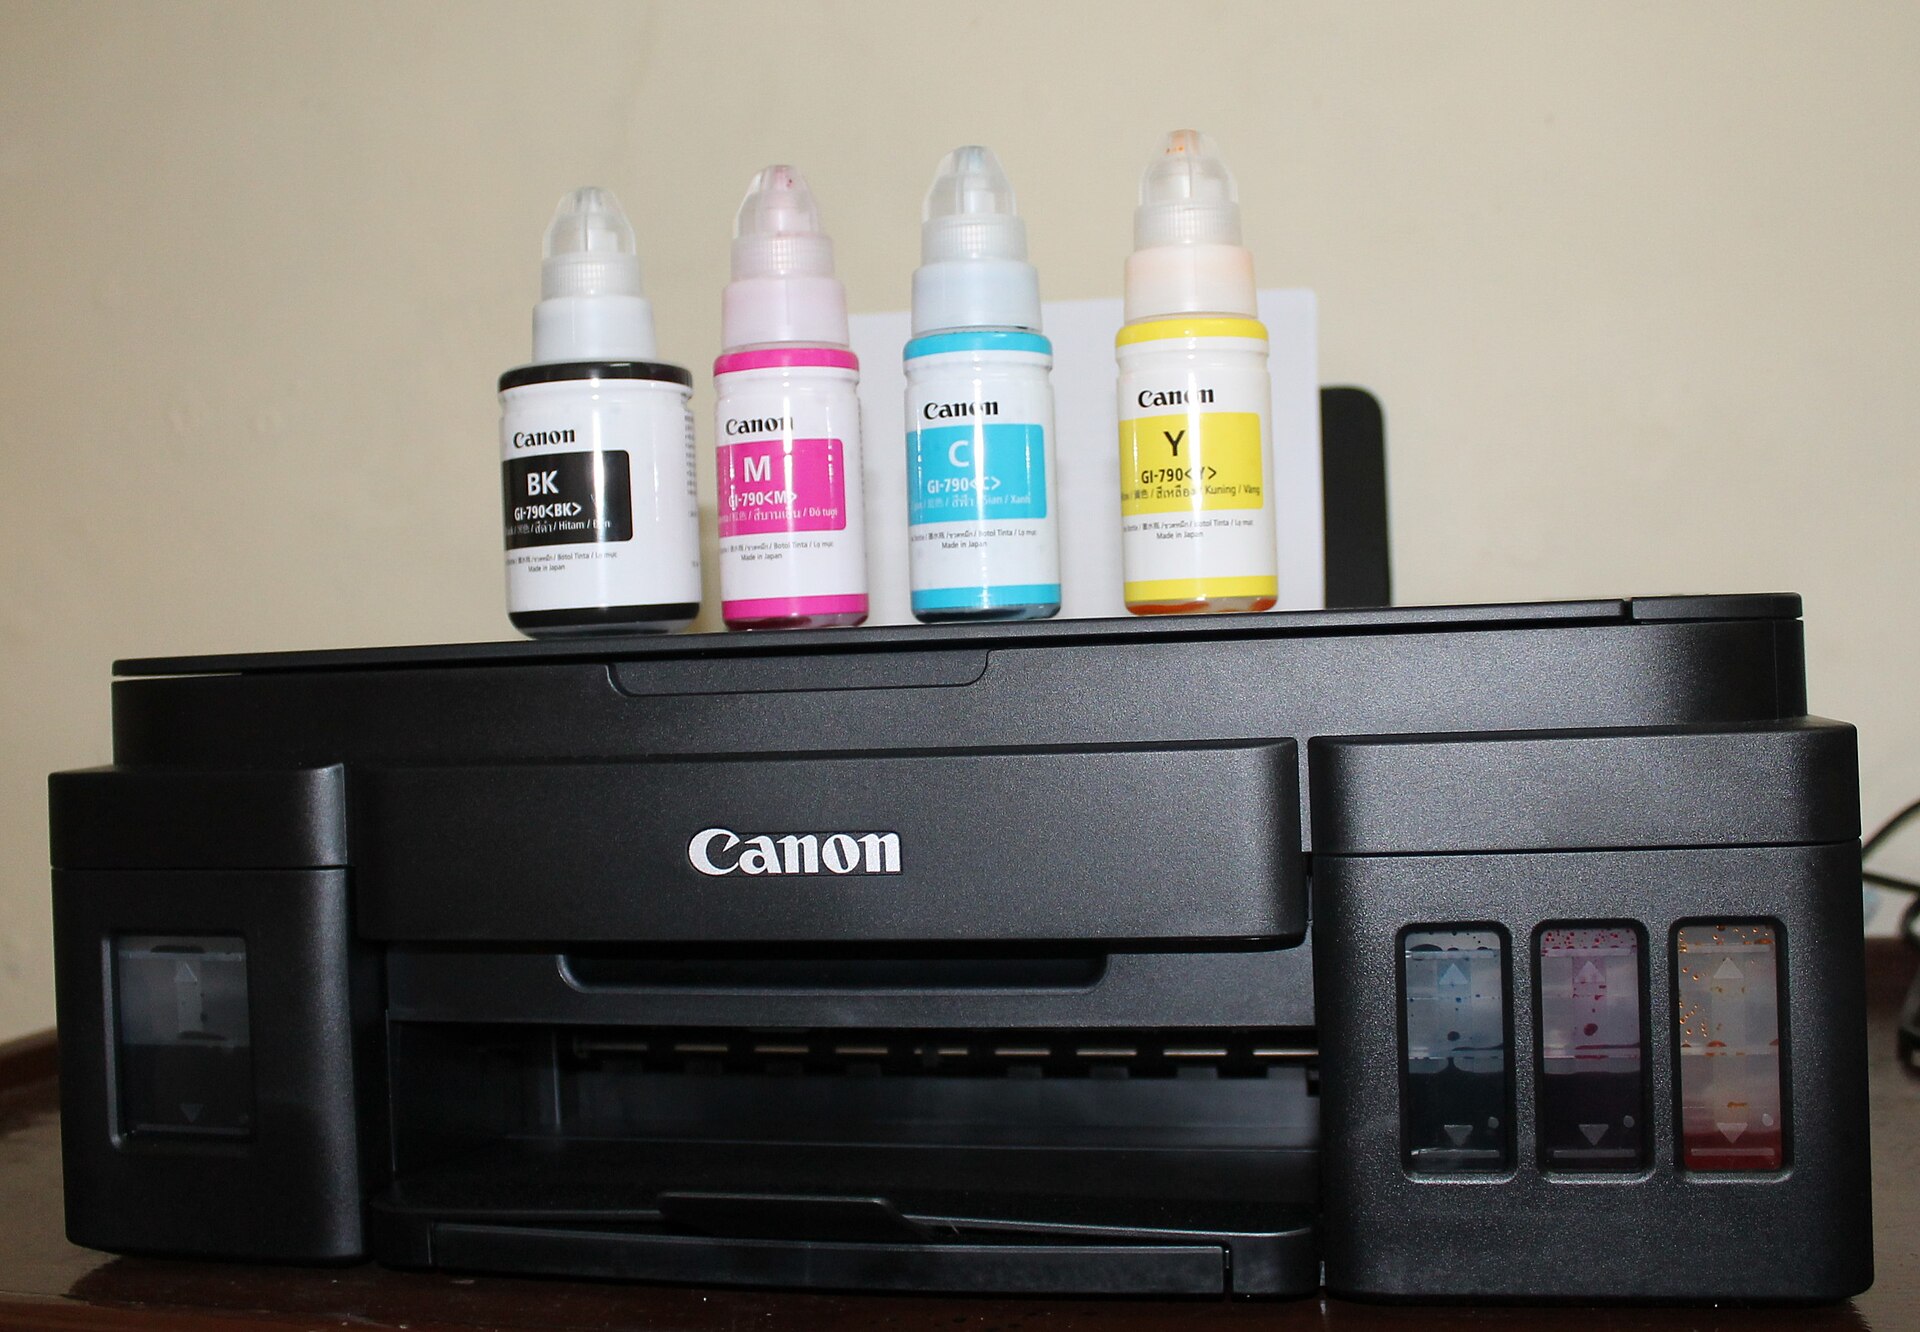
Home printer. Fast, private and cheapest for one-offs — usually limited to A4 or 8.5×11, with some prosumer inkjets reaching A3 or 13×19 inches. Desktop pigment and dye inks can look excellent on the right matte paper, but full-bleed dark posters waste a lot of ink and ordinary office paper buckles under it.
Retail photo counters. Walmart, CVS, Walgreens, Target, Staples and Office Depot same-day kiosks are built for photo sizes: 4×6 through 20×30, real photo paper, calibrated machines, and prices that are often under two dollars for a small print and roughly ten to twenty for poster sizes. You upload online or plug in a USB and usually collect in an hour.
Online labs. Nations Photo Lab, Bay Photo, Mpix, Posterjack and similar services add fine-art papers, canvas, metal and acrylic, sizes up to 40×60, and real quality control. Trade shipping time for a much deeper menu and more consistent color.
File formats: PNG, PDF and what shops expect
Our tools export a flattened PNG: lossless, alpha-free, and universally accepted. PNG preserves the deep navy background of a night-sky map banding-free at full resolution, and every chain listed here accepts it directly through the photo-printing portal. Use PDF when a copy shop insists on a document file or when you want embedded trim marks; export from the PNG rather than re-saving through a chat app, because messengers and email previews sometimes recompress images. Never submit a screenshot of the on-screen preview — it is rendered for the monitor, not the press. JPG works if a portal forces it, but re-export at the highest quality (95–100) to avoid blocking around stars and text.
Color: why everything stays in sRGB
The web speaks sRGB: every screen, every phone and every consumer photo pipeline assumes it. A poster exported with a wide-gamut Adobe RGB profile but read as sRGB comes back desaturated and slightly gray; the classic symptom is a navy sky that prints purple-brown. Our files stay sRGB end to end, which is exactly what one-hour labs expect because their machines convert from sRGB by default. Turn off any "auto enhance," "scene fix" or aggressive red-eye filters at the kiosk — they were tuned for snapshots of faces and can crush a dark poster's shadows or blow out white text. If a lab offers a color profile for soft proofing, download it and preview once; otherwise sRGB is the safe contract.
The print dialog: 100% or actual size
The single most common home-printing mistake is scaling. Browsers and preview apps default to "fit to printable area," which can shrink a borderless 300-DPI file to 96% and add uneven margins. In the system print dialog, set scale explicitly to 100% — labeled "Actual size" in Adobe Reader and Chrome — and choose borderless output if your printer supports it. Verify the preview thumbnail: a circular design should touch the edges you intend, and no text should sit under a paper-edge warning. Keep "scale to fit" only when your image is deliberately smaller than the paper, such as an A4 design printed with a wide mat margin.
Bleed, borders and safe margins
Retail photo sizes and paper sizes use different aspect ratios. A 2:3 image file fills a 4×6, 8×12 or 16×24 print edge to edge; dropping the same file onto an 8×10, 18×24 or 24×36 product forces the kiosk to crop. Two safe strategies are designing with a little breathing room around the essential text, or choosing a built-in border so cropping turns into a deliberate mat. True full-bleed at a print shop technically needs about 3 mm (0.125 in) of extra image beyond the trim, but photo counters trim their own standard sheets, so submitting the exact image size is usually correct. Keep names and dates at least 5–10 mm inside any edge.
Paper choices: matte, luster and glossy
Matte is the default recommendation for dark star maps: zero glare under lamps, deep blacks on better stocks, and fingerprints barely show. Premium matte and fine-art cotton (230–310 gsm) feel substantial and frame beautifully behind glass.
Luster/satin/pearl is the photo-lab compromise — slight texture, richer contrast than matte, far fewer reflections than glossy — and is the standard choice for portraits.
Glossy gives the punchiest blacks and vivid color but mirrors every ceiling light, so avoid it for posters hung opposite windows. Heavier weights (200 gsm and up) feel like prints rather than flyers; our full paper and frames guide compares gsm, canvas, metal and acrylic in detail.
Big-chain counters: Walmart, CVS, Walgreens and Staples
The practical acceptance checklist at the major chains is reassuringly consistent:
- File type: JPG or PNG, sRGB, under 25–30 MB (ours are well inside at 300 DPI; only the 24×36 export is large, and portals accept it).
- Resolution: at least 100 DPI at final size is the printed kiosk minimum; 200–300 DPI is preferred. The ordering site warns if a photo falls short.
- Aspect ratio: match product to file — 2:3 for 4×6, 8×12, 16×24, 20×30; 1:1 for square; 3:2 A-series is not the same as US photo sizes.
- Pickup: select poster/photo print, not document or engineering print; document counters use plain bond paper and weak color.
Walmart Photo and CVS Photo both expose enlargements through their apps; Staples and Office Depot are better for A-series and same-day document-poster stock, though their standard coated paper is lighter than true photo paper. When the kiosk crops automatically, choose the position yourself — centering is rarely the best crop for a design with a title block.
Online print labs and framing services
Online labs ask for the same fundamentals — sRGB, 300 DPI, exact product aspect — but reward correct files with serious media. Fine-art matte, baryta, satin and metallic papers, gallery-wrapped canvas and face-mounted acrylic all sit behind an upload button, and most add optional framing with archival mats. Upload the exact pixel size recommended on the product page rather than letting the browser drag a preview in. Keep a copy of the order confirmation showing the file dimensions; if a lab's automated checker rejects a file that ours produced, double-check that you selected the matching size before re-exporting with the print DPI calculator.
Inspecting the finished print
Collect with a checklist and you will never bring a defect home. Confirm size with a ruler or tape measure; check that the title, date and coordinates are complete and spell names right; hold the print at arm's length under neutral light for soft focus or visible pixels; inspect edges for unwanted cropping and the corners for dents or curl; examine blacks for banding and white text for halos. Under glass, glare is a glazing problem rather than a print defect, so inspect before framing. If anything fails, the chains reprint obvious defects without argument — but only if you open the package promptly. Do all of this once, and every future gift becomes a ten-minute routine: export, upload, pick up, frame, give.
你已经下载了一张漂亮的 300 DPI 海报,天文部分到此完成,接下来要让印刷也成功。本指南覆盖三条现实可行的路线——自家打印机、线下照片冲印门店、在线印厂——然后逐一讲清文件格式、色彩设置、打印对话框、纸张选择与门店接收标准,这些细节决定成品是一张锐利的纪念品,还是一张发虚、被裁切的失望之作。开始之前,先用免费的印刷就绪检查器过一遍文件;如果图片并非来自本站海报工具,则用海报图片缩放器把它提升到所需尺寸。像素数字背后的原理,可参见姊妹篇印刷尺寸与 DPI 详解,里面有完整对照表。
印刷海报的三条路线
家用打印机。快速、私密、单件成本最低——通常限于 A4 或 8.5×11 英寸,少数准专业喷墨机可达 A3 或 13×19 英寸。在合适的哑光纸上,桌面颜料或染料墨水的效果可以非常好;但大面积深色满版海报很费墨水,普通复印纸还会因吃水而起皱。
线下照片门店。沃尔玛、CVS、沃尔格林、塔吉特、史泰博与欧迪办公的当日取件 kiosk 自助机,本就是为照片尺寸设计的:从 4×6 到 20×30 英寸,真正的相纸、经过校准的机器;小尺寸往往不到两美元,海报尺寸约十到二十美元。可以线上下单或插 U 盘,通常一小时取件。
在线印厂。Nations Photo Lab、Bay Photo、Mpix、Posterjack 等服务则提供美术纸、帆布、金属板与亚克力,尺寸可达 40×60 英寸,并有真正的品控。代价是运输时间,换来的是深得多的材质菜单与更稳定的色彩。
文件格式:PNG、PDF 与门店要什么
本站工具导出的是压平的 PNG:无损、无透明通道、到处都能接收。PNG 能在全分辨率下无条带地保留夜空海报深藏青的背景,上面列出的所有连锁门店都可在其照片冲印入口直接接收。只有当图文店坚持要文档文件、或你需要内嵌裁切标记时才用 PDF——并且应从 PNG 导出,而不是从聊天软件里另存,因为通讯软件与邮件预览有时会重新压缩图片。绝不要提交屏幕预览的截图:那是为显示器渲染的,不是为印刷机。若上传入口只收 JPG,可以用 JPG,但要以最高质量(95–100)重新导出,避免星点与文字周围出现压缩块。
色彩:为什么全程保持 sRGB
互联网讲的是 sRGB:每块屏幕、每部手机、每条消费级照片流水线都默认它。一张以广色域 Adobe RGB 配置导出、却被按 sRGB 解读的海报,成品会发灰、饱和度不足;典型症状是深藏青天空印成紫褐色。本站文件从头到尾保持 sRGB,这正是一小时取件门店所期望的——它们的机器默认按 sRGB 转换。在自助机上请关闭一切"自动增强""场景修复"或激进的红眼过滤:这些功能为人脸快照调校,可能压死深色海报的暗部,或让白色文字过曝。若印厂提供用于软打样的色彩配置文件,可下载预览一次;除此之外,sRGB 就是最安全的约定。
打印对话框:100% 与实际大小
家用打印最常见的错误是缩放。浏览器与图片预览默认"适合可打印区域",可能把一张无白边的 300 DPI 文件缩到 96%,还添上不均匀的边距。在系统打印对话框中,把缩放明确设为 100%——Adobe Reader 与 Chrome 里写作"实际大小"——打印机支持时选择无边界输出。务必核对预览缩略图:圆形设计应在你预期的位置贴边,任何文字都不应落入纸张边缘警告区。只有当图片本来就有意小于纸张时(例如 A4 设计配宽卡纸边)才保留"适合页面"。
出血、白边与安全边距
照片尺寸与纸张尺寸的长宽比并不相同。2:3 的文件可以铺满 4×6、8×12、16×24 的成品;同一个文件放到 8×10、18×24 或 24×36 上,自助机就会强制裁切。两种稳妥策略:设计时在关键文字四周留出一点呼吸空间;或选择自带边框的版本,让裁切变成一圈刻意的卡纸边。印刷厂意义上的满版出血,技术上需要在裁切线外多留约 3 毫米(0.125 英寸)图像,但照片门店是按自己的标准相纸整张裁切的,所以通常提交精确尺寸的图像即可。姓名与日期至少要离任何边缘 5–10 毫米。
纸张选择:哑光、绒面与光泽
哑光是深色星图的默认推荐:灯光下零反光,好纸张的黑色更深,指纹几乎不留。高级哑光与美术纯棉纸(230–310 克)手感厚实,装在玻璃下非常漂亮。
绒面/缎面/珍珠面是照片印厂的折中选择——带细微纹理,对比比哑光饱满,反光又远少于光泽——也是人像照片的标准用纸。
光泽的黑最浓郁、色彩最艳,但会镜像反射每一盏顶灯,因此避免挂在窗户对面。克重越高(200 克以上)越像印刷品而不是传单;我们的纸张与装裱指南详细比较了克重、帆布、金属板与亚克力。
大型连锁门店:沃尔玛、CVS、沃尔格林与史泰博
主流连锁的实际接收标准高度一致,清单如下:
- 文件类型:JPG 或 PNG、sRGB、小于 25–30 MB(本站 300 DPI 文件都远低于此;只有 24×36 导出较大,上传入口同样接受)。
- 分辨率:成品尺寸下至少 100 DPI 是自助机标明的下限,200–300 DPI 更佳;分辨率不足时下单网站会警告。
- 长宽比:产品要与文件匹配——4×6、8×12、16×24、20×30 用 2:3;方形用 1:1;A 系列的 3:2 并不等于美式照片尺寸。
- 取件类型:选海报/照片冲印,不要选文档或工程图打印;后者用普通道林纸,色彩淡薄。
Walmart Photo 与 CVS Photo 都可在各自 App 里下单放大;史泰博与欧迪办公更适合 A 系列与当日文档海报,但它们的标准铜版纸比真正的相纸薄。当自助机自动裁切时,务必自己选择裁切位置——对于带标题区的设计,居中几乎从来不是最佳裁切。
在线印厂与装框服务
在线印厂对基础项的要求相同——sRGB、300 DPI、精确匹配产品长宽比——但会用扎实的介质回报正确的文件:美术哑光、硫酸钡、缎面、金属纸、画廊级帆布包框、亚克力面贴,都藏在一个上传按钮之后;多数还提供带博物馆级卡纸边的可选装框。请按产品页推荐的精确像素上传,而不是把浏览器里的预览图拖进去。保留显示文件像素尺寸的订单确认页;若印厂的自动检查器拒绝了本站生成的文件,先确认你选的尺寸是否匹配,再用打印 DPI 计算器核对后重新导出。
收到成品后的检查
带一张清单取件,就不会把瑕疵带回家。用尺子或卷尺确认尺寸;检查标题、日期与坐标是否完整、姓名拼写是否正确;在中性光线下一臂距离查看是否虚焦或可见像素;检查边缘有无意外裁切、四角有无压痕与卷边;检查深色是否条带、白字有无光晕。放在玻璃下之后出现的反光是面板问题而非印刷缺陷,所以装框前先验。任何一项不合格,连锁门店对明显缺陷都会无争议重印——但前提是你及时拆开包装。这套流程完整走一遍,以后每份礼物都会变成十分钟的例行公事:导出、上传、取件、装框、送出。