The five layouts and when each wins
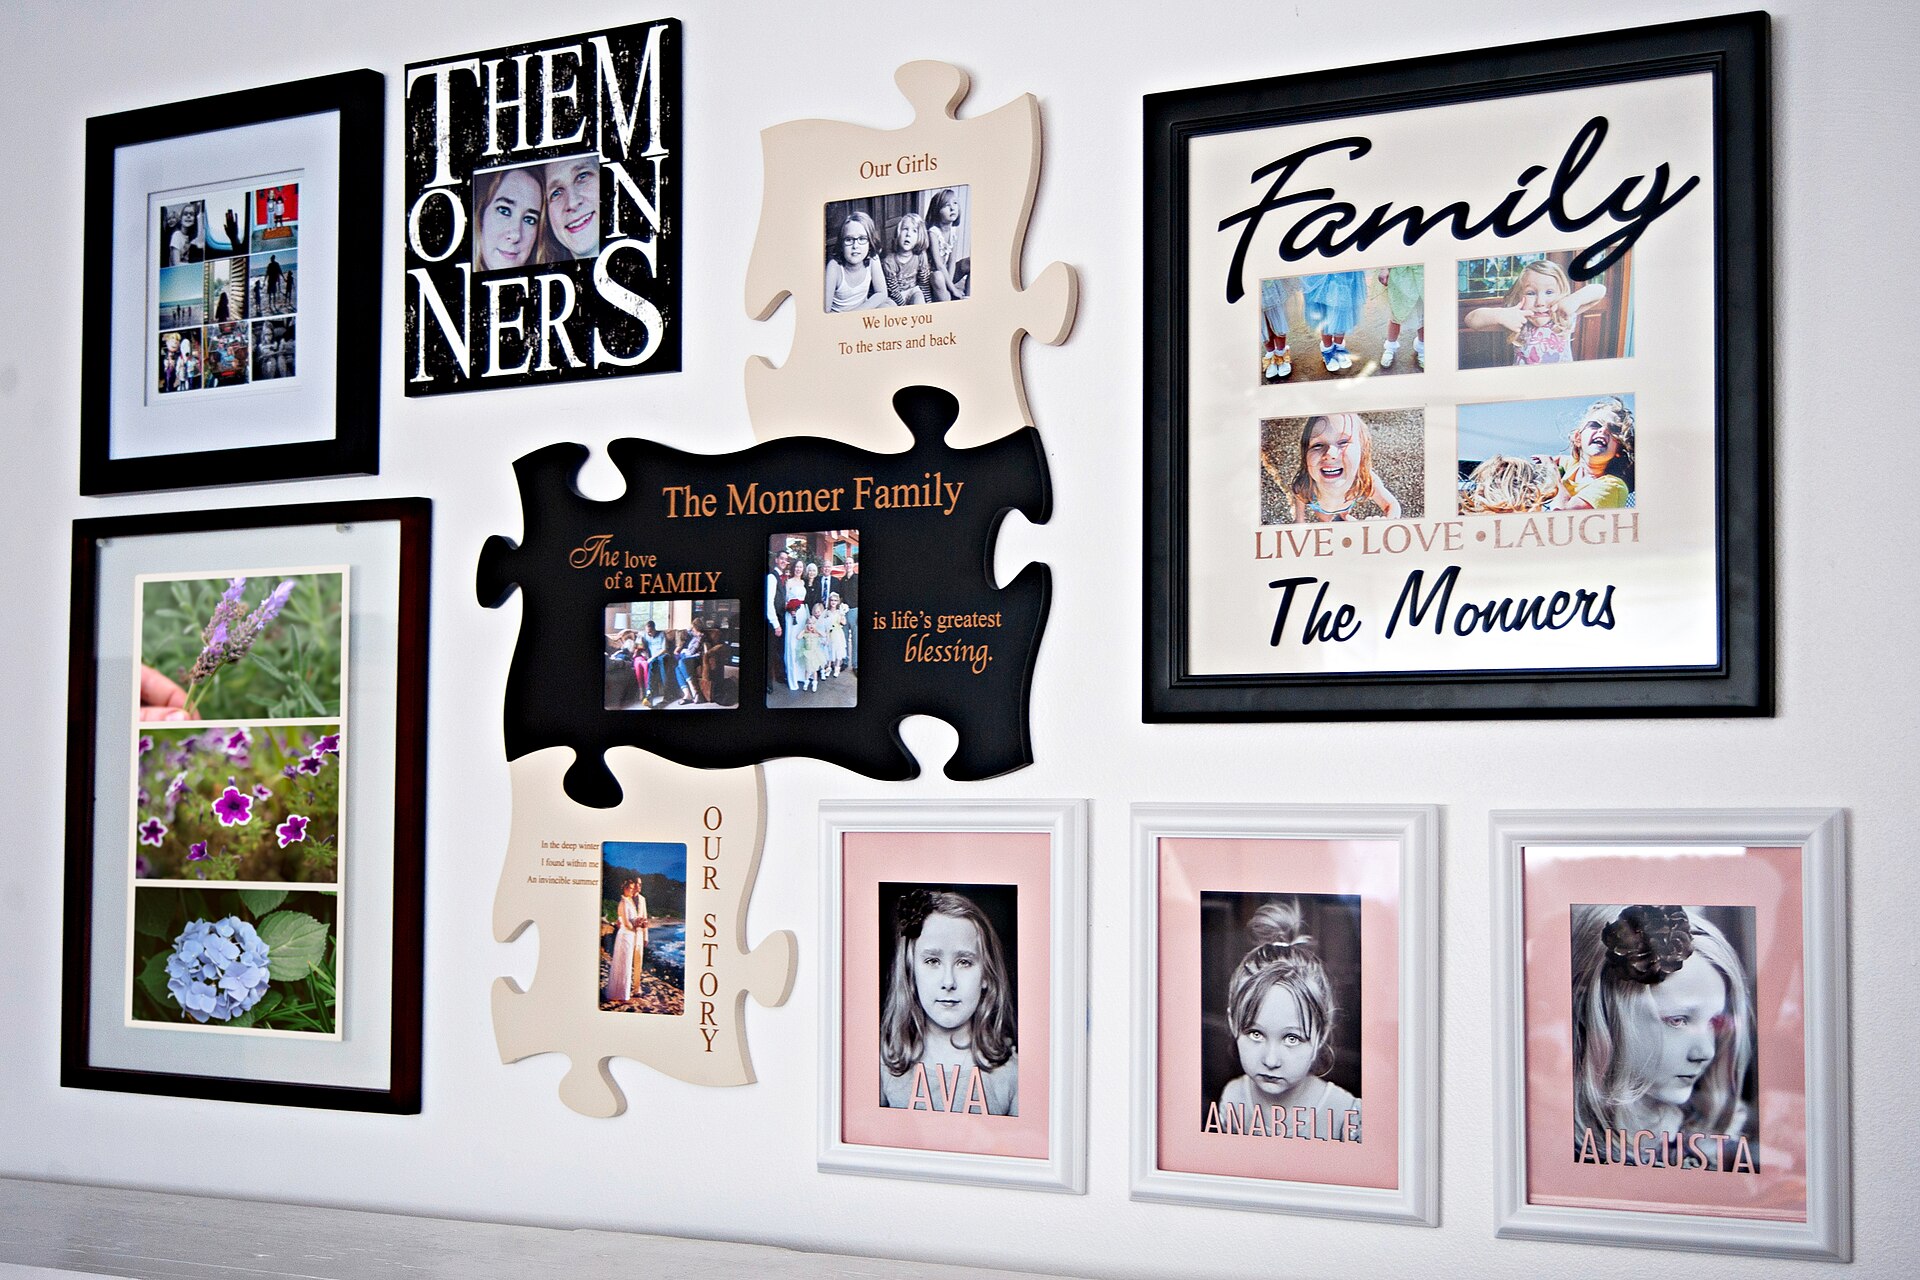
Most failed gallery walls fail at the layout decision, not the hanging. Choose from five proven structures instead of improvising. A grid aligns every piece on both axes with identical gaps; it suits identical frame sizes, reads formal, and is the only layout that survives a stairwell-free small wall without looking busy. A staggered or offset wall aligns pieces along one shared centerline while varying heights and widths — the standard for a hallway or a run behind a sofa. A salon wall is the dense floor-to-ceiling European hang, edge-aligned in loose columns; it is the right structure for ten-plus mismatched pieces and for covering a large wall cheaply, but it punishes indecision, so the outer boundary must be planned as a rectangle.
A centerline composition builds out symmetrically from one anchor piece and is the forgiving option for two to six frames over a console or bed. The 3-6-9 combination groups work in trios: three pieces over a desk, six as an L around a doorway, nine as a full salon; odd counts read as compositions, even counts read as pairs, which is why nine unrelated frames can look deliberate while four can look unfinished. Pick the layout by wall type before you buy a single print: sofa wall = staggered, stair wall = stepped grid, large blank wall = salon, small accent wall = centerline.
The 5–10 cm spacing rule
The gap between frames is the single variable that most changes the result, and the correct band is narrow: 5–10 cm (roughly 2–4 inches) of wall between edges. Below 5 cm the wall reads as a crowded noticeboard and frames fight; above 10 cm the pieces stop relating and become isolated islands that the eye cannot group. Use 5–6 cm for grids (precision makes the alignment read intentional), 7–8 cm for staggered and salon hangs where varied frames need breathing room, and up to 10 cm only for oversized pieces 60 cm wide or more. Keep one number for the entire wall — mixing gap widths is the giveaway of an unplanned hang.
Two exceptions deserve names. Above furniture, leave 20–25 cm between the sofa or console top and the lowest frame; any less and the composition collides with the object, any more and the wall splits into two unrelated zones. On a stair wall, follow the staircase pitch: the same diagonal gap, 8–10 cm, between each stepped frame, measured perpendicular to the stringer rather than vertically. When you are unsure between two numbers at the store, choose the smaller; gaps always look wider on an empty painted wall than they will once the frames arrive.
Size-mixing formulas that never look random
Mismatched sizes work when the math is visible. Pick one anchor — the largest piece, roughly 40–60 percent of the composition's total width or height — and derive every other size from it. The safest ratio family is 0.6: medium pieces at about three-fifths of the anchor's edge, small pieces at three-fifths of a medium. A 50 cm anchor therefore pairs naturally with 30 cm and 18 cm frames; arbitrary sizes in between are what create the jumble. Alternatively, run a two-size system (one large, one small, no mediums) with at least two repeats of each — repetition is what lets two sizes read as a system.
Weight the composition to the anchor's side rather than centering it like a mobile: heavier visual mass at anchor, smaller pieces stepping outward. Keep edge alignments strict even in salon hangs — each column shares either a left or a right edge, each row shares a top or bottom — and run floor-level rows no closer than 30 cm from the floor, where furniture and vacuum cleaners will punish anything lower. Total width should cover about two-thirds to three-quarters of the furniture below it; a gallery set narrower than half the sofa always looks like a mistake regardless of how well it is hung.
Hang at the 145 cm centerline
The museum and gallery convention is to place the center of each piece — or the center of the composition as a whole — at 145 cm (about 57 inches) from the floor. The number is not aesthetic fashion; it is average standing eye height, and it lets pieces hung in different rooms, at different sizes, still feel like one household's decisions. For a grid or staggered wall, apply 145 cm to the centerline of the entire cluster, then extend outward; do not center each frame individually at 145 cm or the wall doubles in height and loses its anchor.
Adjust for context, not preference: in dining areas where people mostly sit, centers can drop to 135–140 cm, and the single large piece over a bed is measured from the standing floor point, never from the mattress. Above a sofa, the sofa-back normally reaches 80–90 cm, so a 20–25 cm furniture gap leaves the cluster centered around 140–150 cm with no arithmetic luck required. Mark the line across the whole wall with painter's tape before any nail goes in; it is the cheapest error-proofing in the entire project.
Template the whole wall in paper first
Every professional hanger and exactly zero confident amateurs do this step: cut kraft paper or newsprint to each frame's exact outer dimension, mark the hanging point — the wire at tension, not the top edge — and tape every piece to the wall with low-tack painter's tape. Move the paper, not the frames; a layout that takes forty minutes with scissors takes four weekends of holes to revise. Check the arrangement at three times of day, because a gap that reads at noon reads differently at lamplight, and photograph the wall in phone black-and-white: removing color exposes weak alignment faster than staring at it.
While the paper is up, run three checks. Stand at the room's farthest doorway — does it group? Sit on the sofa — does the lowest row collide with heads? Open the room's main door fully — does the door swing enter the composition? Only after all three pass do you replace paper with nails. Mark through the paper's hanging-point mark, tear the template off, and the hole is pre-rehearsed; for two-hook frames, level the pair with a real spirit level on the tape line rather than trusting a phone on a textured wall.
Color, frame and theme unity
A mixed-content wall survives on one shared variable. You can mix photographs, posters, a star map, a letter collage and a child's birth print if exactly one of these is consistent: the frame family (all black, all oak, all white — a maximum of two finishes, and if two, one must dominate by about 70 percent), the paper tone (warm white and cream together; never warm and cool white in one cluster), or the palette of the imagery itself. Memory posters help here: a night-sky print supplies a dominant navy that two or three black-and-white photographs already contain, so the theme becomes "dark with white type" rather than "different products."
Theme unity is looser than matching but still a rule: one wall should tell one argument. A family-history wall can hold a Story Timeline Poster, photos and a birth-stat sheet; a places wall can hold a coordinate print and a travel-route map. Mixing a vows card, a birth print and a travel map on one wall asks the viewer to read three stories at once; split them into two walls instead. For frame profiles, mat choices and paper weights across that split, our paper and frames guide matches stock sizes to mat widths so the two walls still belong to the same house.
Mixing memory posters with photographs
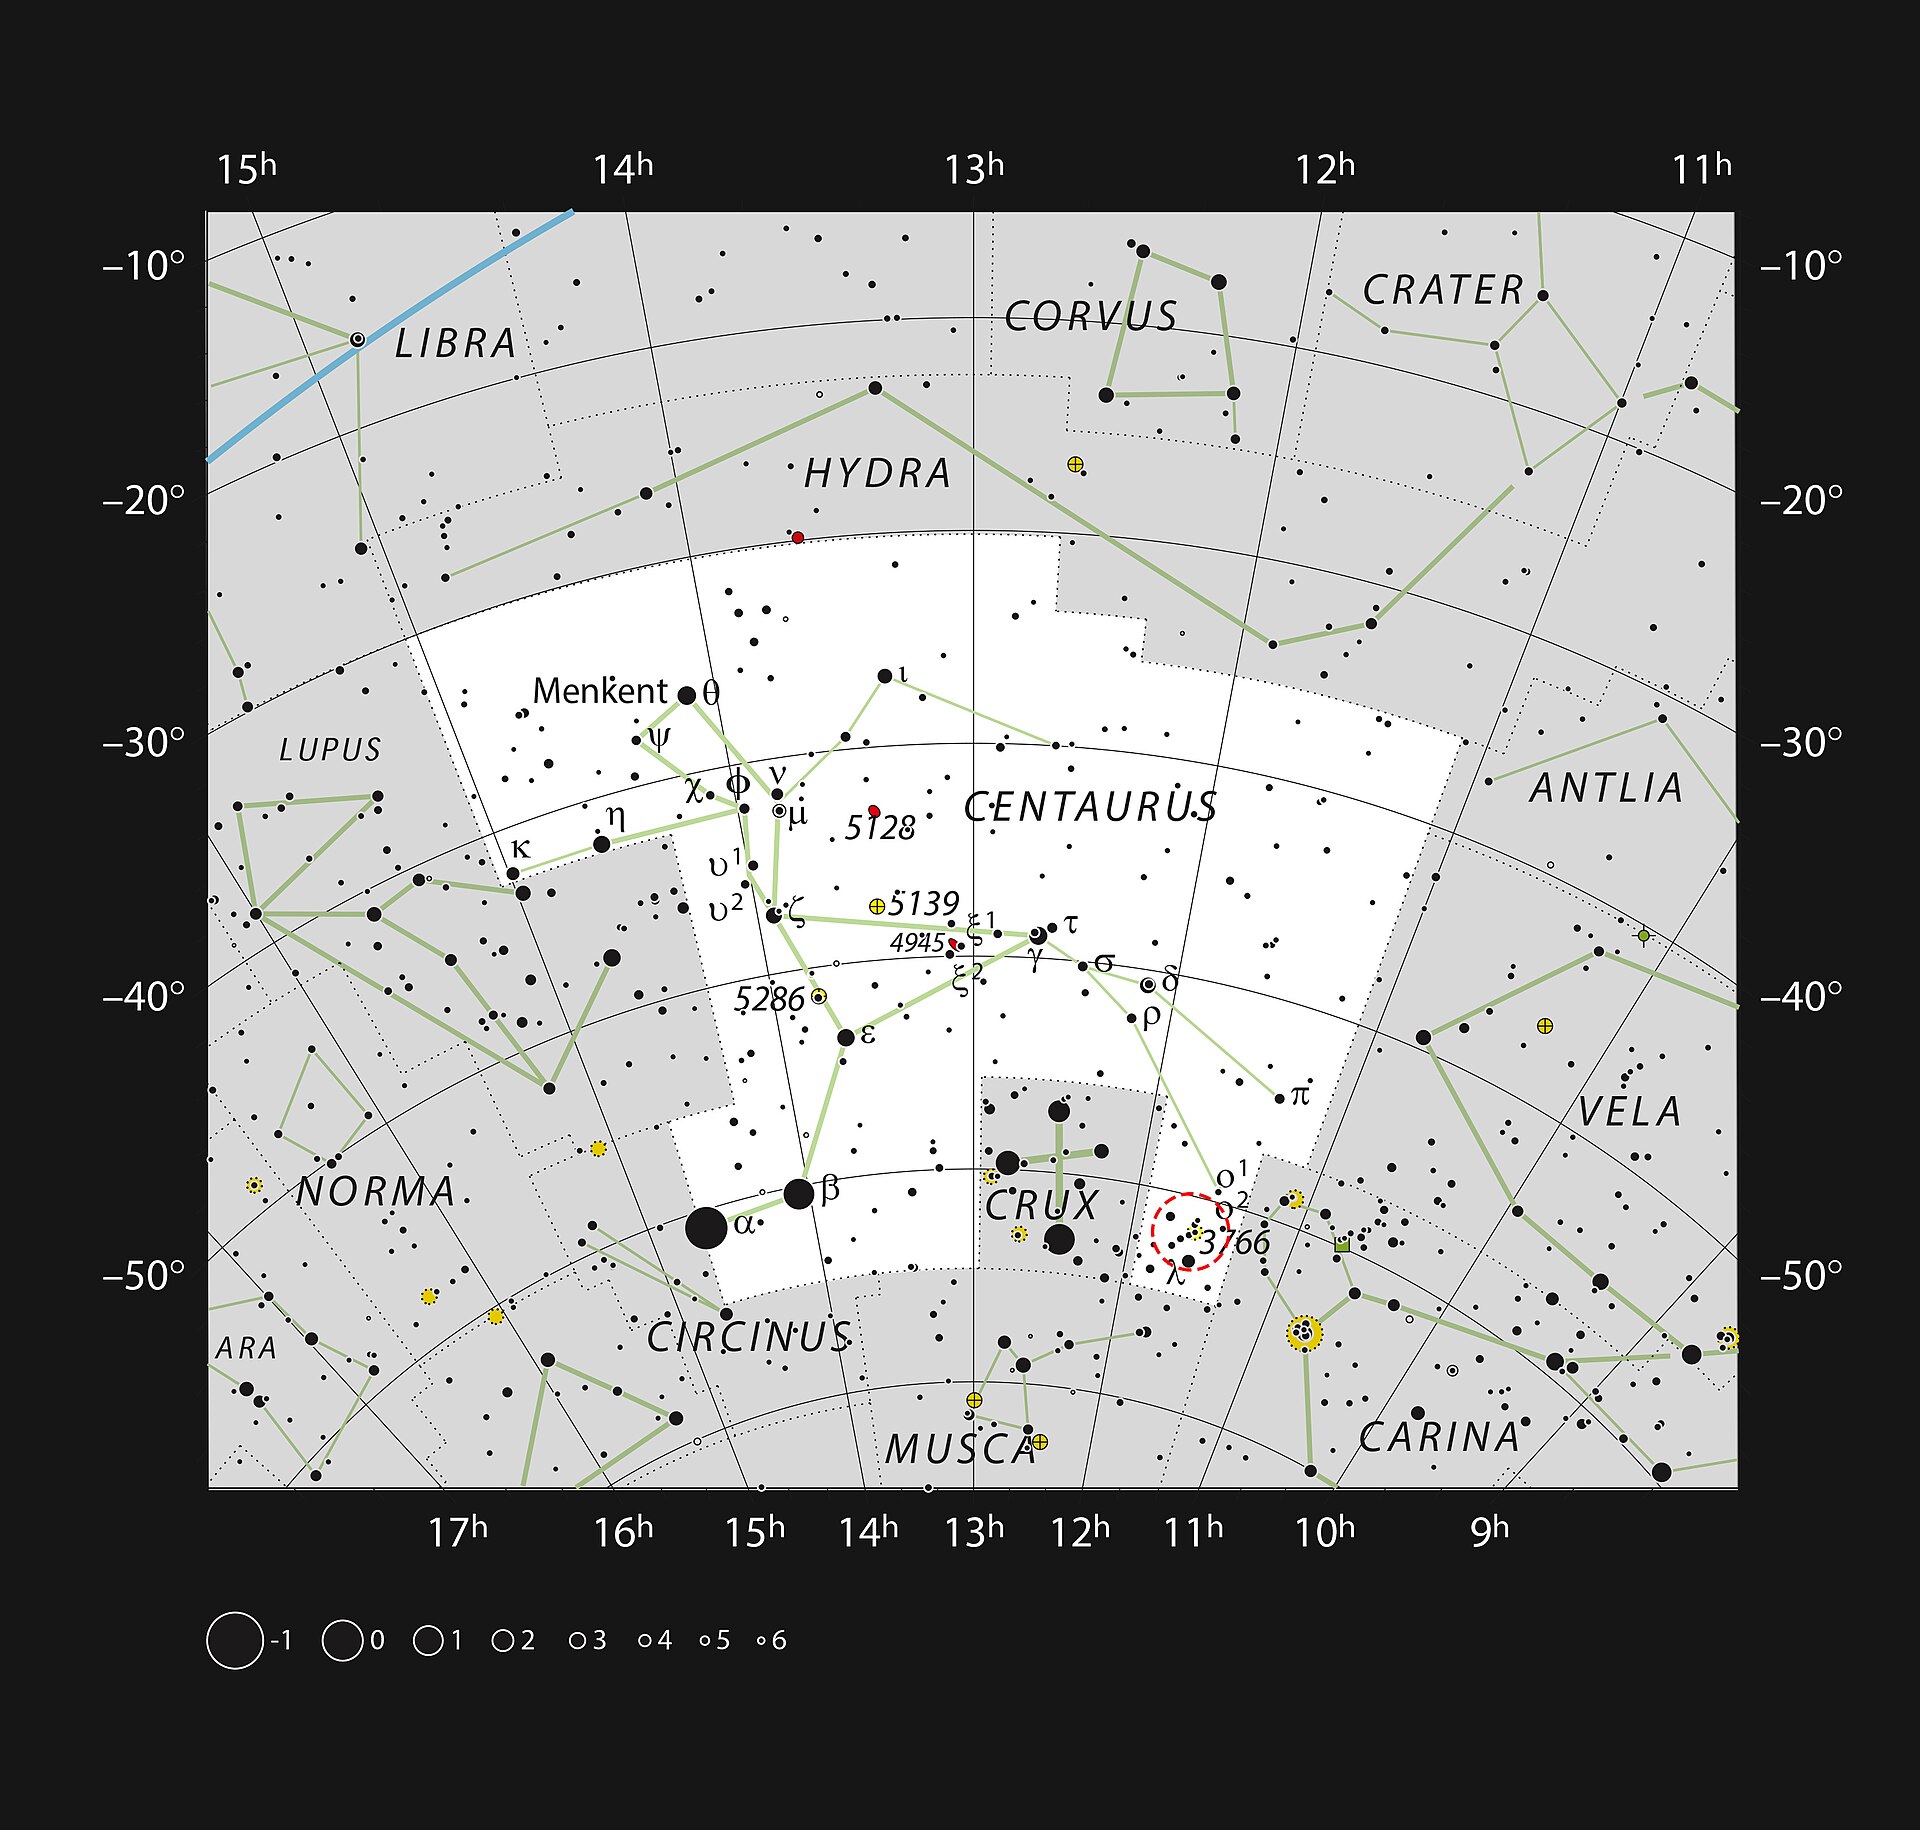
Posters and photographs compete differently for attention: the poster carries typography and flat color, the photo carries faces, and faces win at any distance. Position the anchor accordingly — the poster is usually the better anchor in a grid because it reads from across the room, while photographs reward close viewing and belong at eye level on the 145 cm line. A Star Map Poster with its deep field acts as the "quiet" piece that lets busier family photos sit next to each other without argument; a Letter & Photo Collage does the reverse job in a salon wall, bridging text-only prints and candid frames inside one object.
Print all pieces for the same viewing distance: 300 DPI at final size on matte stock, including the photos. The most common mixing failure is a sharp gallery poster next to a drugstore upscaled phone photo, where the resolution gap becomes the only thing viewers notice. Sizing, dots-per-inch targets and a printable-pixel table for common frame sizes are covered in the poster printing guide; before ordering, run the cluster's total width against the two-thirds-of-furniture rule so your anchor does not turn out too small.
Hardware, measuring day and final checklist
Match the hook to the wall and the weight: a single sawtooth on a drywall-only 20 cm frame is fine; anything over 30 cm wide or 2 kg needs two D-rings on picture wire, and plaster or masonry wants a proper wall plug rather than a drywall nail. Weight ratings printed on hook packaging assume solid wood stud placement; derate by half when fixing into drywall alone, and prefer the stud for the anchor piece. Put rubber bumpers on the bottom corners of every large frame so the cluster stays parallel instead of seesawing when the vacuum passes.
- Layout chosen for the actual wall type; one gap number fixed for the whole cluster (5–10 cm).
- Anchor sized at 40–60% of composition; edge sizes derived at the 0.6 ratio or a strict two-size system.
- 145 cm centerline taped across the wall; 20–25 cm clearance above furniture.
- Full paper template approved at three light levels and from the doorway, sofa and door swing.
- One unifying variable (frames, paper tone or palette); one story per wall.
- All art printed at 300 DPI matte; hooks rated for wall type and real weight; wire leveled with a spirit level.
Done in that order, a gallery wall takes a weekend — half of it spent moving paper — and leaves no holes to fill. Done from the nails outward, it takes months and leaves the kind of wall people politely call "eclectic."
五种布局与各自的适用墙
失败的照片墙大多败在布局决策,而不是挂钉。从五种被验证过的结构里选,不要即兴发挥。网格把每件作品两轴对齐、间距完全一致,适合相同尺寸的相框,气质正式,也是唯一能在一面不靠墙具的小墙上不显得忙乱的布局。错层(偏移)墙让作品沿一条共同中线对齐、高低宽窄自由变化,是走廊与沙发背后长条墙的标准做法。沙龙墙是从地面到天花板的密集欧式挂法,边缘在松散的列中对齐;它适合十件以上尺寸不一的作品、适合低成本铺满大墙,但它惩罚犹豫——所以外边界必须先规划成一个矩形。
中线构图从一件主视觉作品出发向两侧对称展开,是玄关柜或床头上方两到六只框最宽容的方案。3-6-9 组合以三为单位成组:书桌上放三件、门口排成 L 形六件、整面沙龙墙九件;奇数读作构图,偶数读作成对——这就是为什么九件互不相关的框可以看起来深思熟虑,而四件反而可能像没挂完。买任何印品之前先按墙型选布局:沙发墙用错层,楼梯墙用阶梯网格,大空墙用沙龙,小点缀墙用中线。
5–10 厘米间距法则
框与框之间的缝隙是改变结果最大的单一变量,而正确区间很窄:边与边之间留 5–10 厘米(约 2–4 英寸)墙面。低于 5 厘米,整面墙读作拥挤的布告栏,相框互相打架;高于 10 厘米,作品之间不再相关,变成眼睛无法成组的孤岛。网格用 5–6 厘米(精确让对齐显得刻意);错层与沙龙挂法用 7–8 厘米,让各式各样的相框有呼吸空间;只有宽 60 厘米以上的超大件才放宽到 10 厘米。整面墙只用一个数字——混着用不同缝宽,是「没计划就上钉」最明显的破绽。
两个例外值得命名。家具上方,沙发或玄关柜台面到最低框底留 20–25 厘米;再少构图会与家具相撞,再多整面墙会裂成两个互不相关的区域。楼梯墙上,跟随楼梯坡度:每个阶梯框之间沿垂直于楼梯侧板的方向量同样 8–10 厘米斜向间距,而不是垂直量。在店里两个数字拿不准时选小的那个;空白新墙上的缝隙永远比相框到货后看起来宽。
永不显乱的尺寸搭配公式
尺寸混搭成立的前提,是让数学可见。先选一件主锚——最大的作品,约占构图总宽或总高的 40–60%——其余所有尺寸都由它推导。最安全的比例族是 0.6:中件边为主锚的约五分之三,小件边为中件的五分之三。于是 50 厘米主锚自然配 30 厘米与 18 厘米的框;中间那些随手挑的任意尺寸,正是杂乱感的来源。另一种做法是双尺寸制(一大一小、没有中号),每个尺寸至少重复两次——重复让两个尺寸被读作一套系统。
构图重量压向主锚一侧,而不是像天平一样居中:大块视觉质量在主锚,小件向外递减。即便在沙龙墙里也要严格对齐边线——每一列共享左缘或右缘,每一行共享顶边或底边;落地一排距地不少于 30 厘米,再低家具和吸尘器都会惩罚它。总宽应覆盖下方家具的三分之二到四分之三;比沙发窄一半的照片组合,无论挂得多好都像一个错误。
按 145 厘米中线悬挂
博物馆与画廊的惯例,是把每件作品的中心——或整组构图的中心——放在距地 145 厘米(约 57 英寸)。这个数字不是审美时髦,而是站立者的平均视高,它让不同房间、不同尺寸的挂法仍然像同一个家庭的决定。网格或错层墙,把 145 厘米应用于整组的中线再向两侧展开;不要让每只框各自以 145 厘米居中,否则整面墙会凭空高出一倍并失去主锚。
随场景调整,而不是随喜好:用餐区人主要坐着,中线可降到 135–140 厘米;床头那幅大画从站立地面量,绝不从床垫面量。沙发靠背通常高 80–90 厘米,留 20–25 厘米家具间距后,整组中心正好落在 140–150 厘米,不需要任何运气。任何钉子进去之前,先用美纹纸胶带把这条线在整面墙上打出来;这是整个项目里最便宜的防错措施。
先用纸模在墙上放样
每一个专业挂画工都做这一步,而自信的业余爱好者恰恰都不做:把牛皮纸或报纸按每只框的外缘精确裁好,标好挂点——绷紧时的钢丝挂点,不是框顶——再用低粘性美纹纸把每件纸模贴到墙上。移动的是纸,不是相框;剪刀加纸模四十分钟能调整完的布局,用钉孔修改要四个周末。在一天中的三个时刻检查,因为中午成立的缝隙在灯光下会变样;再把墙拍成手机黑白照:去掉颜色,对齐的弱点比盯着看暴露得快得多。
纸模在位时做三项检查:站到房间最远的门口——它成组了吗?坐到沙发上——最下一排会撞头吗?把房门完全打开——门的摆动弧线会切进构图吗?三项全过,才把纸换成钉子。隔着纸模的挂点标记直接打钉,撕掉纸模,孔位就是预演过的;双钩相框要用真正的水平尺在胶带线上找平,别在有纹理的墙上信任手机水平仪。
配色、相框与主题统一
一面内容混杂的墙,靠一个共享变量存活。照片、海报、星空图、信件拼贴和孩子出生印品可以混,但必须恰好统一其中一项:相框家族(全黑、全橡木或全白——最多两种饰面,若用两种,一种须占约七成)、纸张色调(暖白与奶油可以同组;暖白与冷白绝不能同组),或图像本身的配色。纪念海报在这一点上很帮忙:夜空印品提供一个主导海军蓝,而两三张黑白照片里本来就有这个色,主题于是变成「深色加白字」,而不是「不同的商品」。
主题统一比配色宽松,但仍是规则:一面墙只讲一个论点。家庭史墙可以同时容纳故事时间线海报、照片与出生数据表;地点墙可以同时容纳坐标印品与旅行路线图。把誓言卡、出生印品和旅行地图塞进一面墙,等于要求观众同时读三个故事;拆成两面墙更好。分墙之后的框型、卡纸与纸张克重选择,见纸张与装裱指南,它把现货尺寸与卡纸宽度配好,让两面墙仍属于同一栋房子。
纪念海报与照片混排
海报与照片争夺注意力的方式不同:海报承载字体与平涂色,照片承载面孔,而面孔在任何距离都赢。主锚的位置要据此安排——在网格里海报通常是更好的主锚,因为它在房间另一头就能被读懂;照片奖励近距离观看,属于 145 厘米中线上的视高位。星空地图海报以深色画面充当「安静」的一件,让更忙的家庭照片彼此相邻而不争吵;信件照片拼贴在沙龙墙里承担反向功能,在单一物件内部桥接纯文字印品与抓拍框。
所有作品按同一观看距离印刷:最终尺寸 300 DPI、哑光纸,照片也不例外。混排最常见的失败,是锐利的画廊海报旁边贴着一张被放大的手机店冲印照片,分辨率落差成为观众唯一注意到的东西。常见相框尺寸的大小、DPI 目标与可印像素对照表见海报印刷指南;下单前把整组总宽对照「家具三分之二」规则核一遍,免得主锚最后买小了。
五金、测量日与最终清单
挂钩要匹配墙体与重量:20 厘米框、只吃石膏板,单只锯齿钩够用;任何宽于 30 厘米或重于 2 千克的作品,需要两只 D 形环加钢丝,石膏墙或砌体要用正规膨胀管而不是石膏钉。挂钩包装上的承重标定假定打在实木龙骨上;只打石膏板时承重折半,主锚作品优先找龙骨。每只大框底角贴硅胶防撞粒,吸尘器经过时整组才保持平行而不跷跷板。
- 布局按真实墙型选定;整组锁定一个缝隙数字(5–10 厘米)。
- 主锚占构图 40–60%;其余尺寸按 0.6 比例推导,或严格执行双尺寸制。
- 145 厘米中线已在墙上贴胶带;家具上方留 20–25 厘米。
- 完整纸模在三种光线、门口、沙发位与开门弧线视角下通过。
- 统一变量只有一个(相框、纸调或配色);一面墙一个故事。
- 全部作品 300 DPI 哑光;挂钩按墙型与真实重量选型,钢丝用水平尺找平。
按这个顺序完成,一面照片墙花一个周末——其中一半时间在移动纸模——且没有需要补的洞。从钉子向外倒着做,则要花几个月,最后留下一面被客人们客气地称为「挺混搭」的墙。